Understanding the Problem
So, you've got your device connected to the router via Ethernet, but there's no internet. Frustrating, right? Let's break down this issue and figure out how to get you back online.
Step 1: Check the Basics
Before diving into complex solutions, let’s cover the basics. Sometimes it's the little things that trip us up.
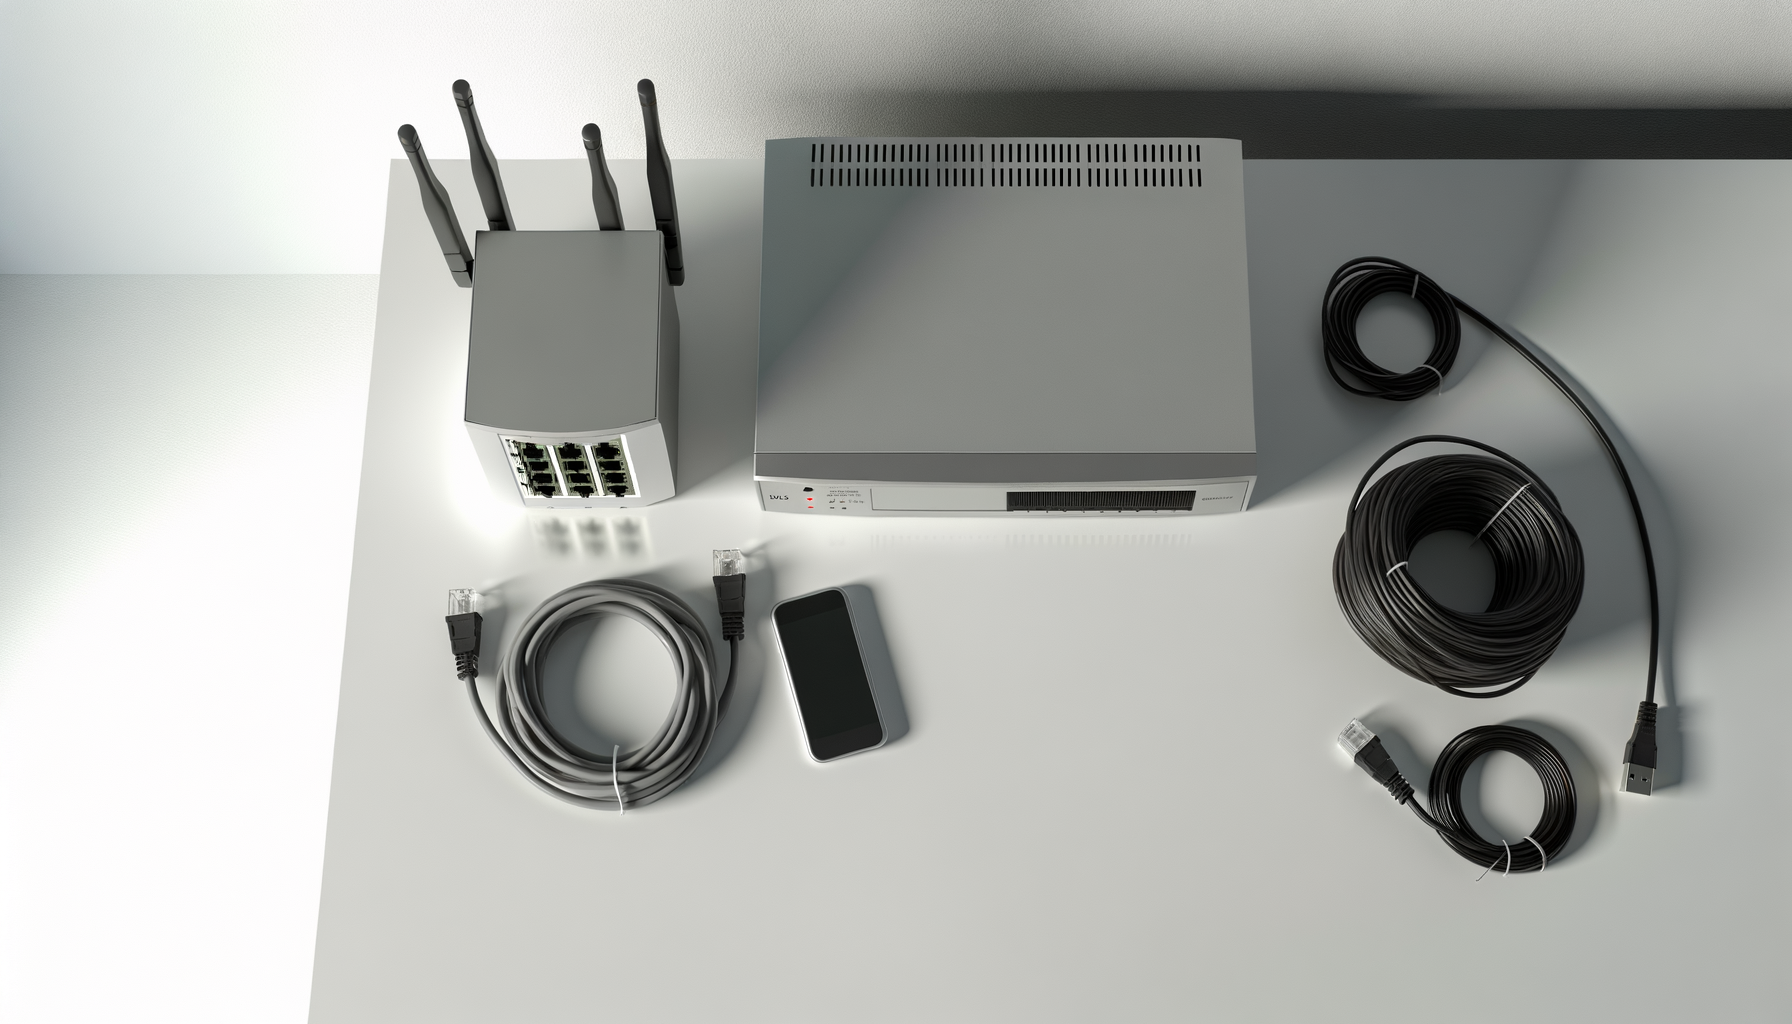
- Check the Ethernet Cable: Make sure your Ethernet cable is securely plugged into both your device and the router. A loose connection can cause issues.
- Inspect the Cable for Damage: Look for any visible damage. If the cable looks frayed or bent, it might need replacing.
- Try a Different Port: If your router has multiple ports, plug the cable into a different one. Sometimes a single port can be faulty.
Step 2: Restart Your Devices
It sounds simple, but restarting can solve a lot of problems.
- Unplug your router and modem from the power source.
- Wait about 30 seconds. This gives them a chance to reset fully.
- Plug your modem back in first and wait for it to fully boot up. This usually takes a minute or two.
- Now plug in your router and wait for it to boot up.
- Reconnect your device with the Ethernet cable.
Give it a shot. You might be pleasantly surprised.
Step 3: Check Network Settings
If restarting didn’t work, it’s time to check your network settings.
- On Windows: Go to the Control Panel, then Network and Sharing Center. Click on “Change adapter settings.” Right-click on your Ethernet connection and select “Properties.” Make sure “Internet Protocol Version 4 (TCP/IPv4)” is checked.
- On Mac: Open System Preferences, then Network. Select your Ethernet connection and ensure it’s set to “Using DHCP.”
- Check for IP Conflicts: You might have two devices trying to use the same IP address. Restarting your router should usually fix this, but if not, consider assigning a static IP to your device.
Step 4: Update Drivers and Firmware
Sometimes outdated drivers can be the culprit. Here’s how to check:
- Update Network Adapter Drivers (Windows): Go to Device Manager, find your network adapter, right-click, and select “Update driver.”
- Update macOS: Go to the App Store and check for updates. Keeping your system up to date helps with connectivity.
- Router Firmware: Access your router settings through a web browser. Usually, this is done by typing in an IP address like 192.168.1.1. Look for a section to update firmware.
This can seem tricky, but it’s worth it for a stable connection.
Step 5: Check Your ISP
Sometimes the issue might be with your Internet Service Provider, not your setup.
- Check for Outages: Visit your ISP’s website or give them a call to see if there are any known outages in your area.
- Run a Speed Test: If you can get online through wifi or another device, run a speed test to see if you're getting the speeds you should.
ISPs can have their own hiccups, so it’s good to check.
Step 6: Factory Reset Your Router
If nothing has worked so far, a factory reset might be your last resort. But be warned, this will erase all your custom settings.
- Locate the reset button on your router. It’s usually a small pinhole button.
- Press and hold the button for about 10-15 seconds until the lights on the router blink.
- Wait for the router to reboot. After that, you’ll need to set everything up again.
Make sure you have your ISP settings handy because you’ll need them.
Step 7: Contact Support
If you're still stuck, it might be time to call in the pros. Your ISP can run diagnostics on your line and help troubleshoot further.
- Be ready to explain everything you've tried so far. This will save time and make the process smoother.
- Ask about any potential hardware issues with your router or modem.
Conclusion
Getting stuck with an Ethernet connection but no internet can feel like a black hole of frustration. By following these steps, you should be able to diagnose and hopefully fix the issue yourself. Remember, it’s all about patience and a bit of trial and error. You got this!