Understanding Wi-Fi Dead Zones
Ever walked into a room and suddenly lost your Wi-Fi connection? It's frustrating, right? Those pesky dead zones can pop up anywhere in your home. They’re areas where your router just can’t reach, leaving you with slow speeds or no connection at all. Let’s figure out what’s causing these dead zones and how you can get rid of them for good.
Common Causes of Wi-Fi Dead Zones
Before we jump into solutions, it helps to know what’s causing the problem. Here are a few common culprits:
- Distance: The farther you are from the router, the weaker the signal.
- Obstacles: Walls, floors, and furniture can block Wi-Fi signals. Thick walls and metal objects are the worst offenders.
- Interference: Other electronic devices like microwaves, cordless phones, and even your neighbor's Wi-Fi can interfere with your signal.
- Router placement: Where you put your router really matters. A corner of your house isn’t the best spot.
Tips to Eliminate Dead Zones
Now, let's tackle those dead zones. Here are some simple steps you can take to improve your Wi-Fi coverage:
1. Move Your Router
Seriously, just moving your router can make a big difference. Try to place it in a central location in your home. Keep it off the floor and away from walls. Higher is usually better.
2. Check Your Router Settings
Sometimes, your router settings can be part of the issue. Log into your router’s admin page and check the following:
- Change the channel: If you’re on a crowded channel, switch to a less crowded one. Use an app to find which channels are busy.
- Update firmware: Keeping your router’s firmware up to date can fix bugs and improve performance.
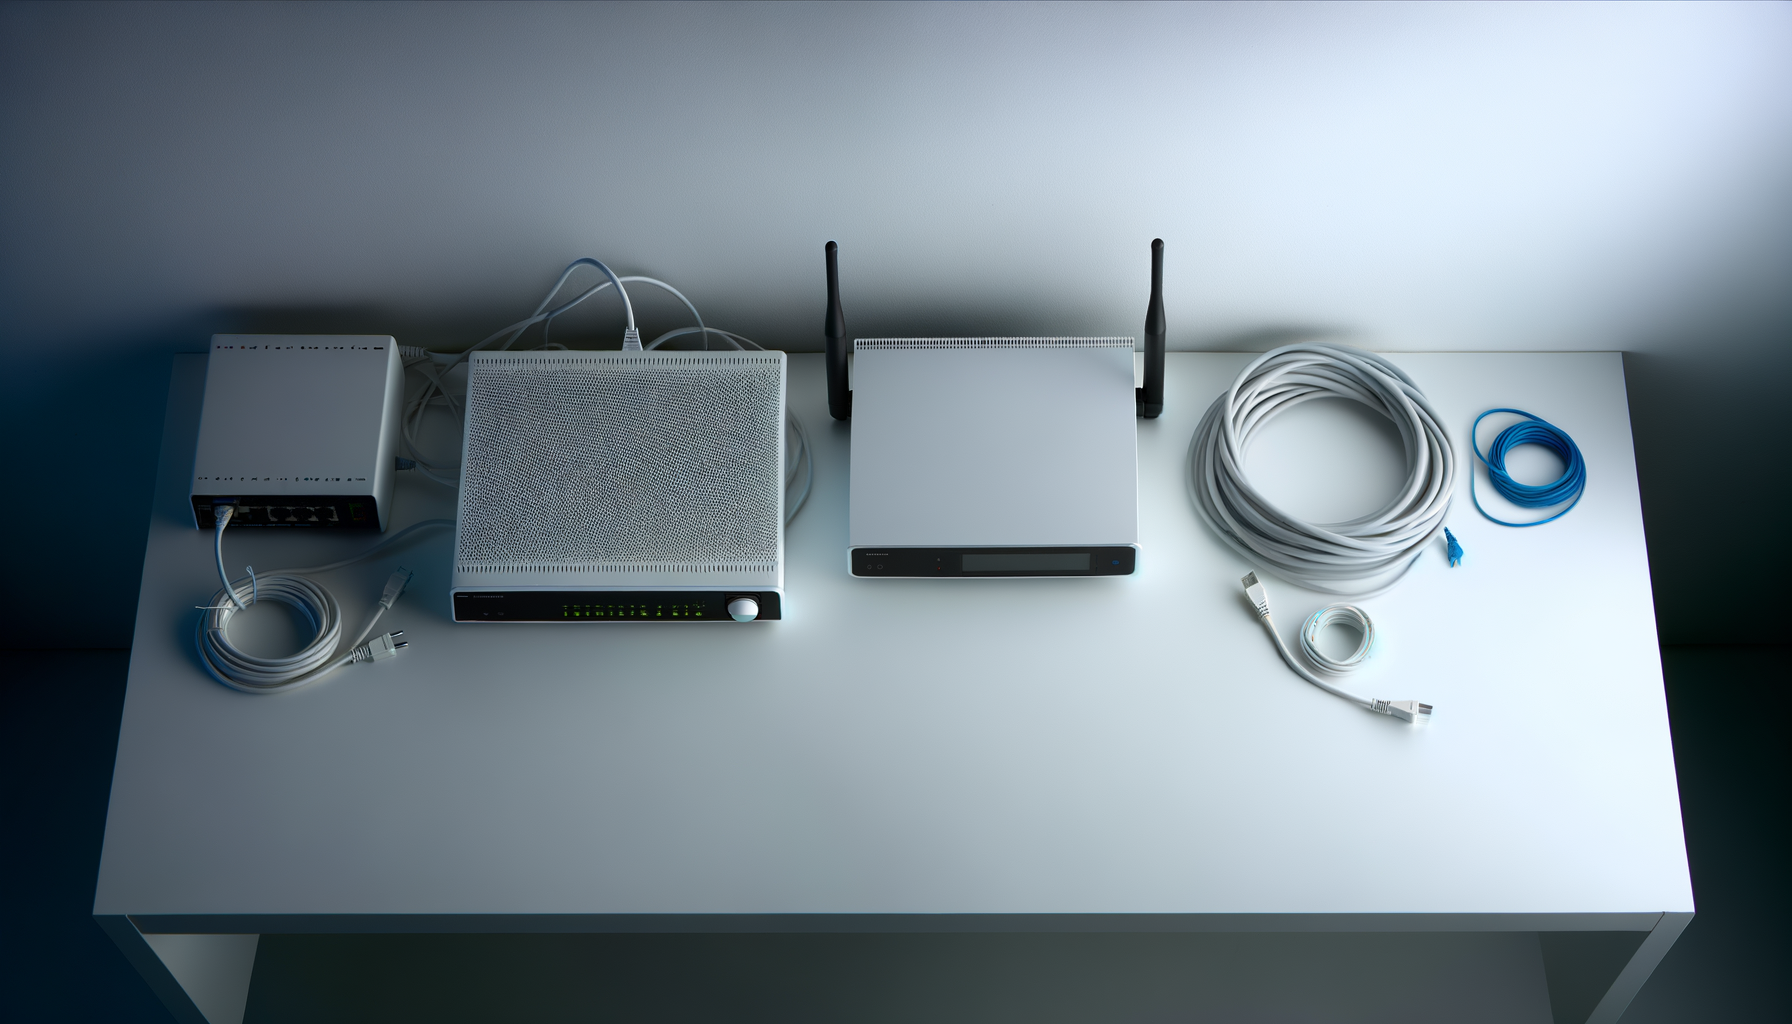
3. Use Wi-Fi Extenders or Mesh Systems
If moving the router doesn’t cut it, consider Wi-Fi extenders or a mesh system. Wi-Fi extenders boost your signal to reach those dead zones. Mesh systems are even better as they use multiple nodes to create a blanket of coverage throughout your home.
4. Change the Frequency Band
Most routers come with two frequency bands: 2.4 GHz and 5 GHz. The 2.4 GHz band covers a longer range but is slower. The 5 GHz band is faster but has a shorter range. Try connecting to the 5 GHz band if you’re close to the router and need speed.
5. Limit Interference
Take a look around your home. If you have devices that could interfere with your Wi-Fi, try moving them away from your router. Keep your router away from microwaves and cordless phones. Also, make sure there aren’t too many devices connected to the Wi-Fi at once.
Advanced Solutions
If you’ve tried all the basic fixes and still have dead zones, you might need to get a bit more technical.
1. Upgrade Your Router
Not all routers are created equal. If yours is a few years old, it might be time for an upgrade. Look for a router that supports the latest Wi-Fi standards, like Wi-Fi 6. These routers are designed to handle more devices and provide better coverage.
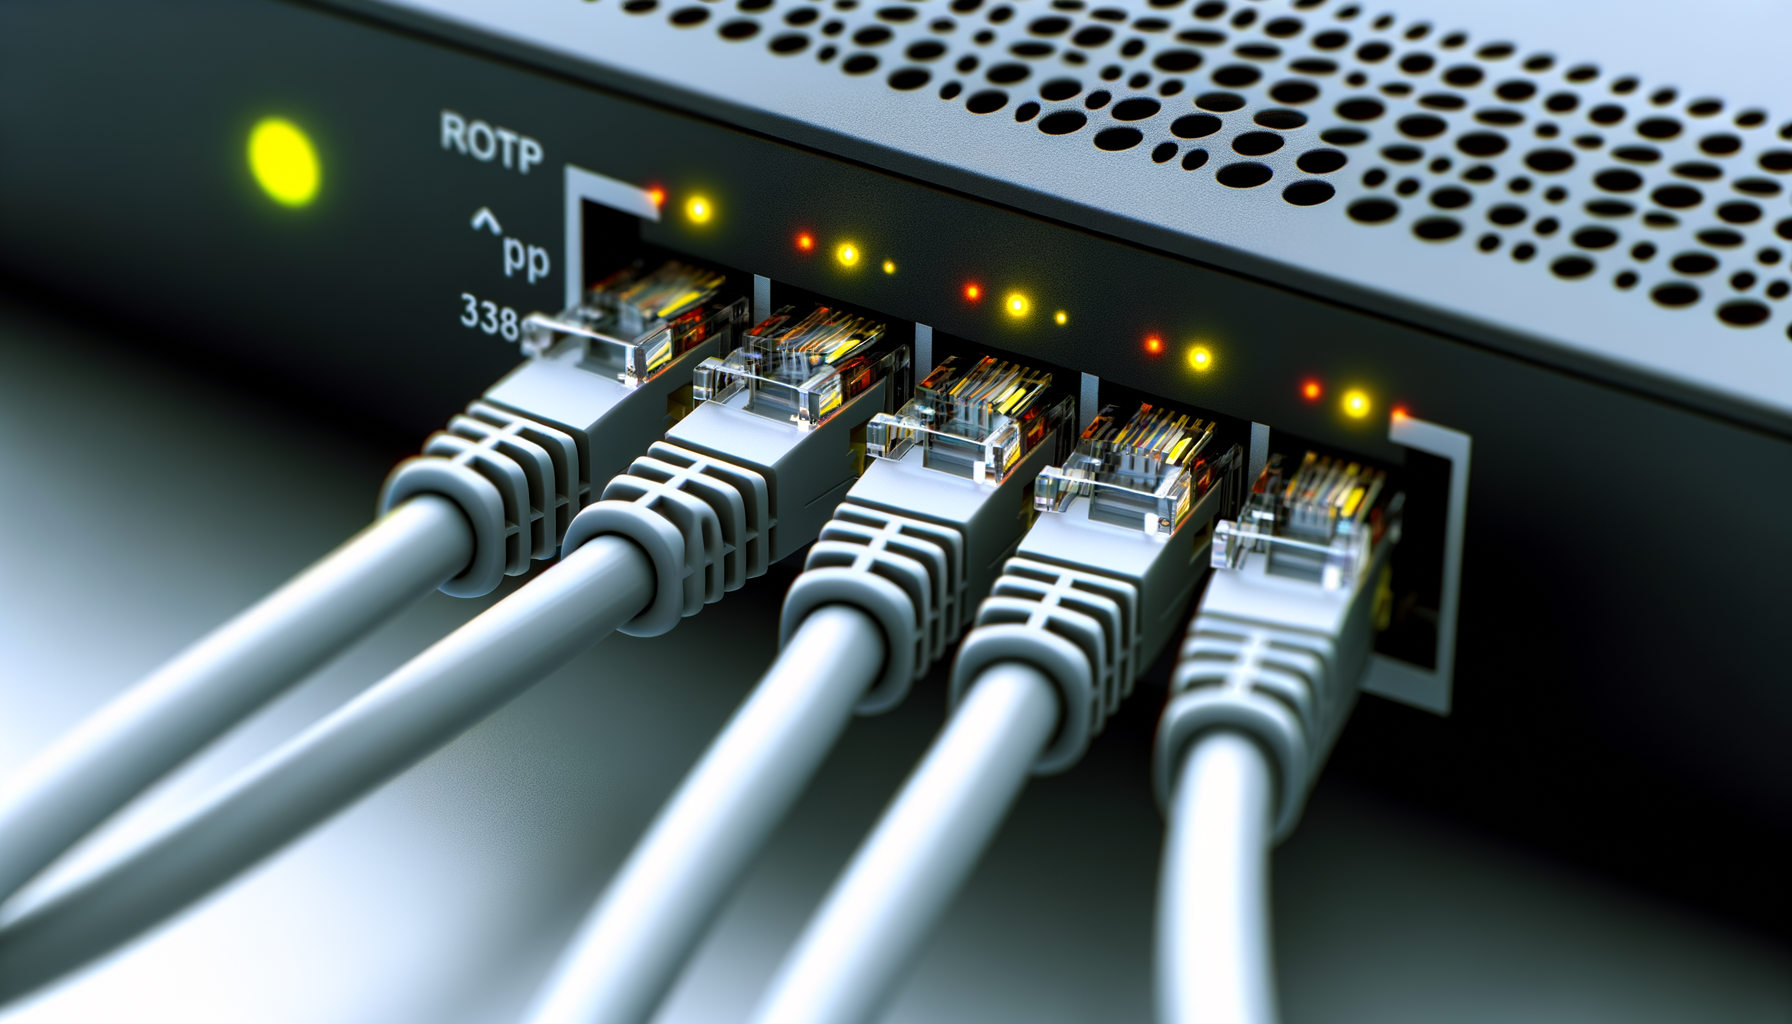
2. Use Ethernet Cables
For devices that need a stable connection, like gaming consoles or PCs, consider using Ethernet cables. They provide a direct connection and can help reduce strain on your Wi-Fi network.
3. Consider Powerline Adapters
Powerline adapters use your home’s electrical wiring to extend your network. Plug one adapter into a power outlet near your router and connect it via Ethernet. Plug another adapter in a different room, and it acts like a second access point.
Testing Your Wi-Fi Coverage
After making changes, you’ll want to test your Wi-Fi coverage. Use your phone or a laptop to check the signal strength in different areas of your home. You can also use apps that help you see where the signal is strong and where it drops off.
Final Thoughts
Dealing with Wi-Fi dead zones can be a pain. But with a bit of troubleshooting and some simple adjustments, you can enjoy a stronger signal throughout your home. Remember, it might take a few tries to find the right solution for your specific situation. Don’t get discouraged. You’ve got this!