Understanding the Problem
Video conferencing can be a real hassle sometimes. Ever been on a call and suddenly your video freezes or the audio is choppy? Yeah, that’s not fun. Most of the time, it’s your Wi-Fi acting up. Let’s figure out how to give your network a little boost so you can chat without interruptions.
Check Your Internet Speed
First things first, let’s see what speed you’re actually getting. You can use a site like Speedtest.net to check your internet speed. Ideally, you want at least 1.5 Mbps for standard video calls and 3 Mbps for HD video. If your speeds are lower than that, you might need to contact your Internet Service Provider (ISP).
Position Your Router Wisely
Router placement is key. You want it in a central location in your home. If it’s stuffed in a corner or behind furniture, you’re asking for trouble. Try to keep it elevated and away from walls or metal objects. A quick tip: place it on a shelf or a table. The higher, the better.
Reduce Interference
Wi-Fi signals can get disrupted by other devices. Things like microwaves, cordless phones, and even baby monitors can interfere with your signal. Try to keep your router away from these devices. Also, if you live in an apartment, other Wi-Fi networks can mess with yours. You might want to switch to a less crowded channel.
Use the Right Frequency Band
Most routers operate on two frequency bands: 2.4 GHz and 5 GHz. The 2.4 GHz band has a longer range, but it’s slower and more crowded. The 5 GHz band offers faster speeds but less range. For video calls, the 5 GHz band is usually your best bet if you’re close to the router. Check your router settings to see if you can switch between these bands.
How to Change Frequency Bands
Changing your band is pretty simple. Here’s how:
- Log into your router’s web interface. You usually do this by typing in your router’s IP address in your browser.
- Look for wireless settings.
- Change the band settings to 5 GHz, if available.
- Save your changes and reboot the router.
Limit Bandwidth-Hogging Apps
Have a lot of devices connected to your Wi-Fi? They might be stealing your bandwidth. Before a video call, try disconnecting devices that aren’t in use. Streaming services, online gaming, and large downloads can slow everything down. Give your video call all the bandwidth it can get.
Update Your Router's Firmware
Keeping your router’s firmware up to date can improve performance. Check the manufacturer's website for updates. It’s usually a straightforward process. Just log in to your router settings, look for firmware updates, and follow the prompts. You’ll be surprised how much a simple update can help.
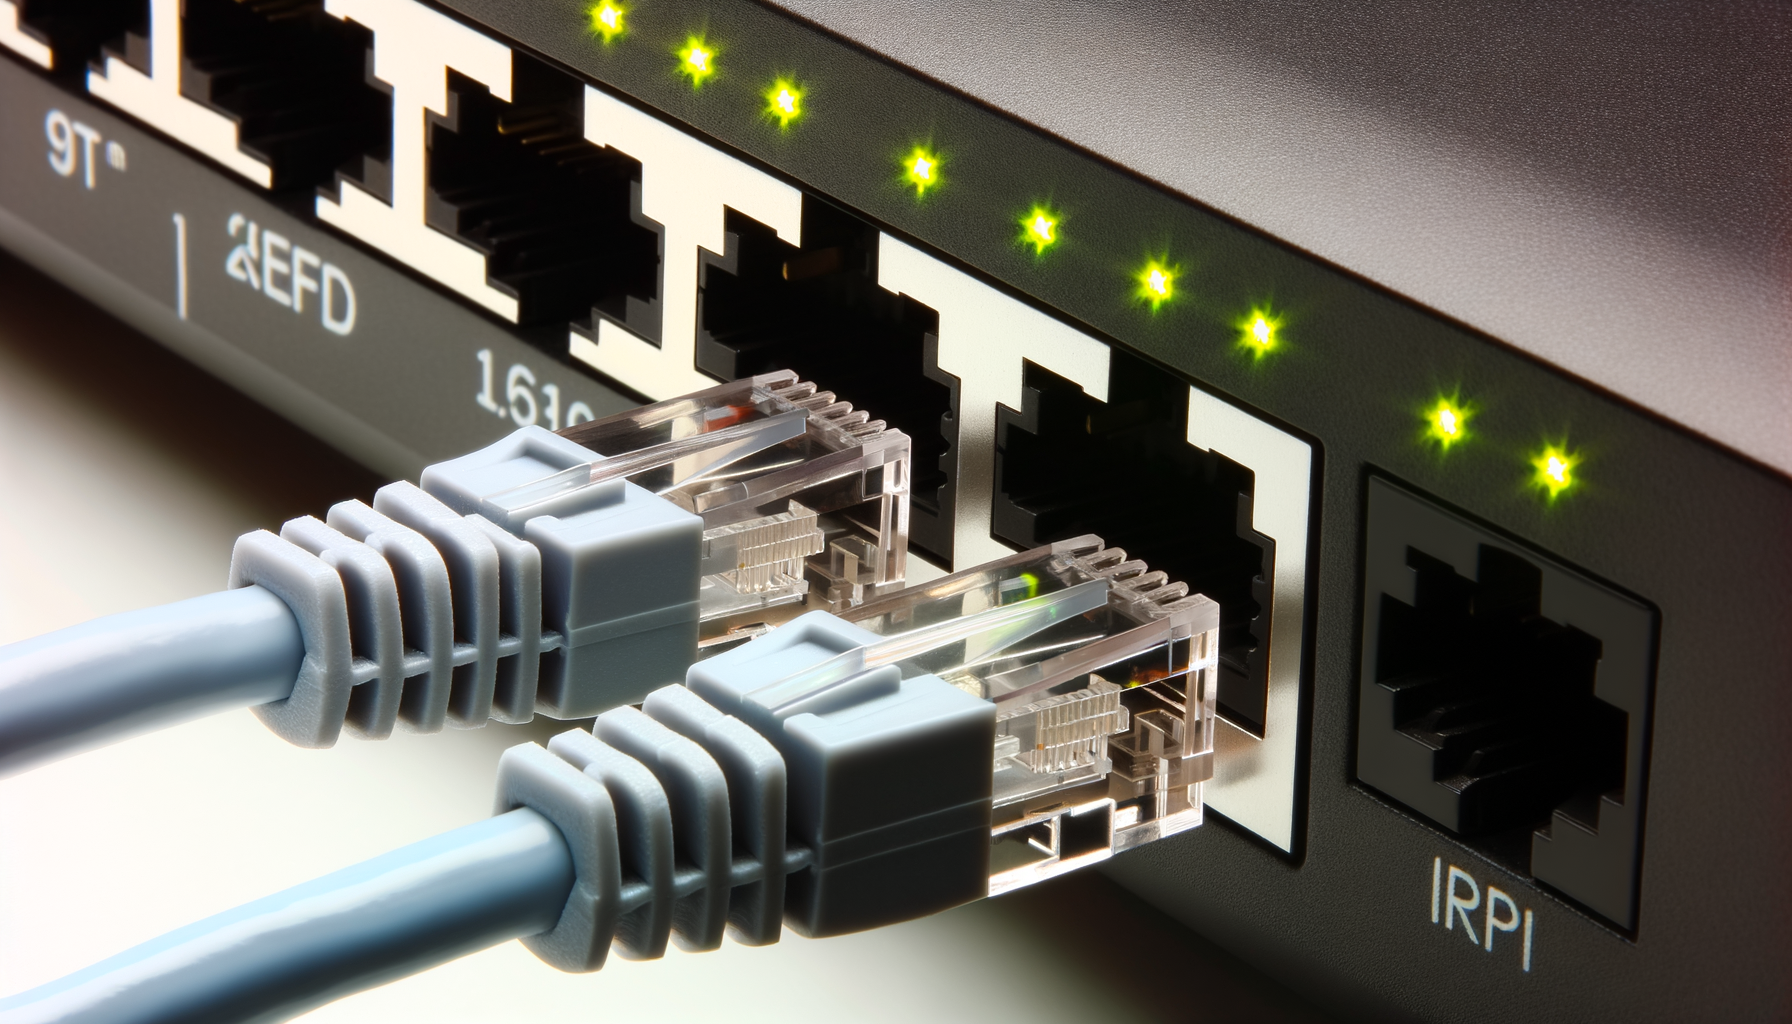
Consider Using a Wired Connection
If you’re really serious about video calls and want the best quality, consider using an Ethernet cable. Plugging your device directly into the router can give you a more stable and faster connection. Plus, you won’t have to worry about Wi-Fi interference.
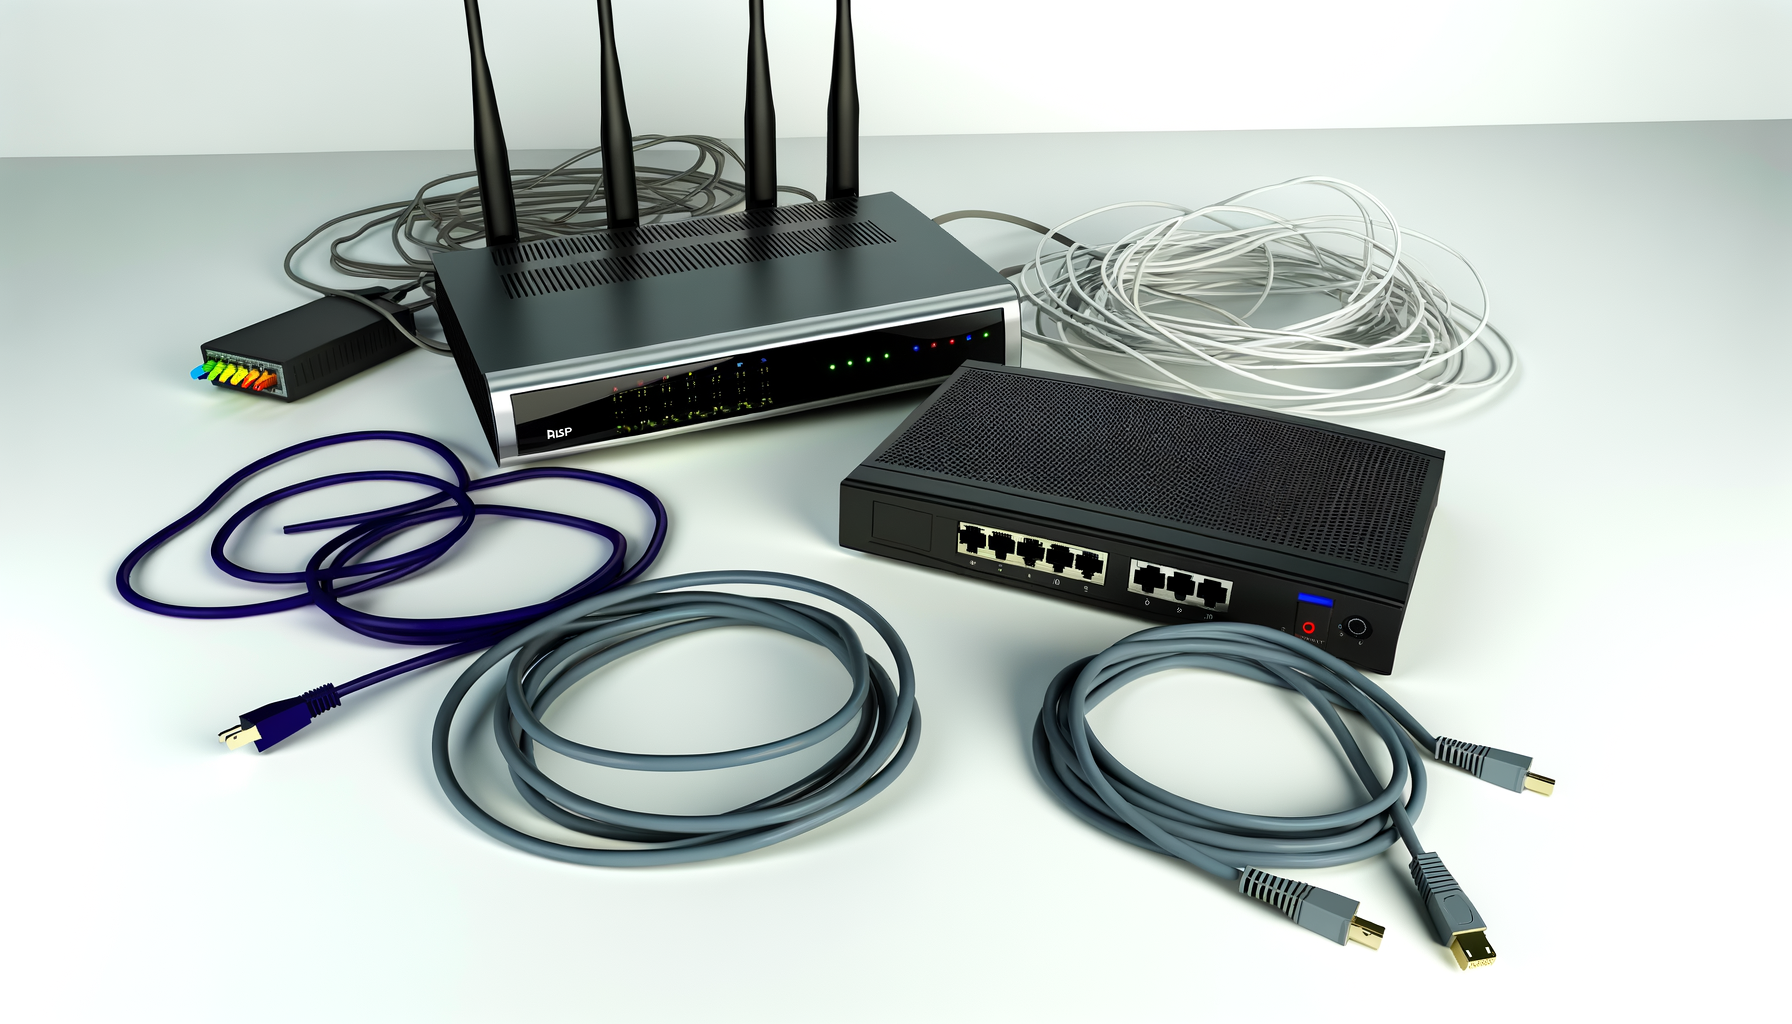
Boost Your Wi-Fi Signal
If you’re still having trouble, it might be time to think about boosting your signal. Here are a few options:
- Wi-Fi Range Extenders: These devices can help spread your signal further into your home.
- Mesh Wi-Fi Systems: These provide multiple access points throughout your home for better coverage.
- Upgrading Your Router: If your router is a few years old, it might be time for an upgrade. Look for a router that supports the latest Wi-Fi standards, like Wi-Fi 6.
Test Your Setup
After you’ve made changes, test your setup again. Use Speedtest.net to check your speeds. You can also do a video call with someone to see if the quality has improved. Ask them if your video and audio are clear. Their feedback can help you tweak things further.
Final Thoughts
Getting your Wi-Fi ready for video conferencing doesn’t have to be complicated. With a few simple tweaks, you can enjoy smoother calls and stay connected without interruptions. Remember, it’s all about position, reducing interference, and ensuring you have enough bandwidth for your needs. Happy video chatting!