What is DDNS?
Dynamic DNS, or DDNS for short, lets you access your router using a domain name instead of an ever-changing IP address. This is super handy when you want to log in remotely. You might be wondering why bother? Well, your ISP probably changes your IP address from time to time. With DDNS, you can always reach your router even if that address changes.
Why You Might Need DDNS
Imagine you want to check on your home security camera while on vacation. You need to log into your router, but your IP address has changed since you last checked. Frustrating, right? DDNS solves that problem. Instead of memorizing numbers, you can just use a friendly domain name.
Setting Up DDNS
Getting DDNS up and running is not as hard as it seems. Just follow these steps:
Step 1: Choose a DDNS Provider
There are plenty of DDNS providers out there. Some popular ones include:
- No-IP
- DynDNS
- DuckDNS
Some of these services are free, while others might charge a small fee. Pick one that fits your needs. No-IP and DuckDNS are solid choices for personal use, especially since they offer free tiers.
Step 2: Create an Account
Once you've picked a provider, head over to their website and create an account. You’ll usually need to provide an email address and set a password. Make sure it’s something you can remember.
Step 3: Set Up Your Hostname
After you’ve created your account, it’s time to set up your hostname. This is the domain name you’ll use to access your network. For example, you might choose something like myhome.ddns.net. Just follow the provider’s instructions to create it. You might need to choose a region or specify a subdomain.
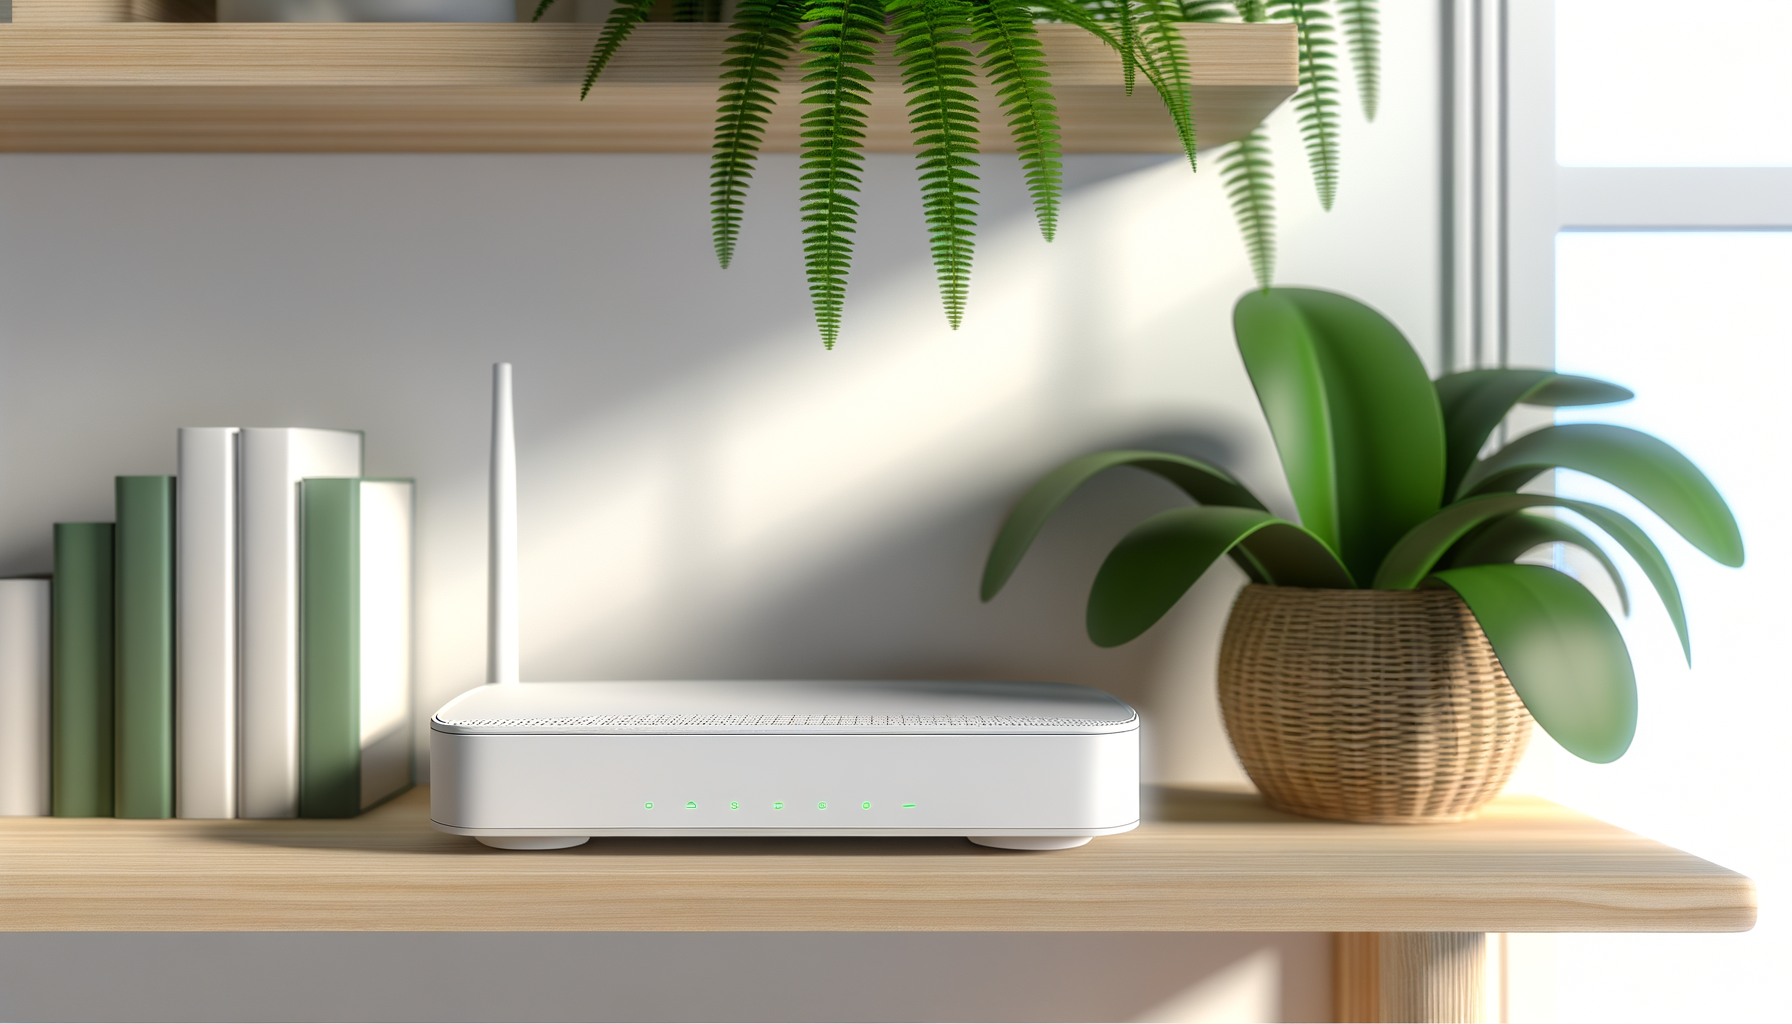
Step 4: Configure Your Router
Now, it’s time to get your router involved. Here’s how to do that:
- Log in to your router’s admin panel. You can usually do this by typing your router’s IP address into your web browser. Common addresses are 192.168.1.1 or 192.168.0.1.
- Enter your credentials. The default username and password are often 'admin' and 'admin' or 'password'. Check your router’s manual if those don’t work.
- Look for the DDNS settings. This is usually found under sections like 'Advanced', 'Dynamic DNS', or 'Remote Access'.
- Enter the DDNS provider details. You’ll need to input your hostname, the username, and the password you used when you created your DDNS account.
- Save the settings and exit the admin panel.
Make sure to reboot your router after saving the changes. This helps apply the new settings.
Testing Your DDNS Setup
Now that everything is set up, it’s time to test it out. Open a web browser and type in your new DDNS hostname, like myhome.ddns.net. If everything is configured correctly, you should see your router’s login page. If not, double-check your router settings and make sure your DDNS account is active.
Troubleshooting Common Issues
Sometimes things don't go as planned. Here are some common issues and how to fix them:
- Can't access your router: Make sure your router is connected to the internet. If your internet is down, your DDNS won't work.
- Hostname is not resolving: Check if your DDNS provider is active. Sometimes they require you to log in and confirm your hostname periodically.
- Wrong username/password: Double-check your credentials in the DDNS settings on your router. Even a small typo can mess things up.
Keep Your DDNS Updated
Most DDNS providers automatically update your hostname when your IP changes. However, it’s a good idea to log into your DDNS account every now and then to make sure everything is running smoothly. Some free accounts require periodic confirmation to keep them active.
Wrapping Up
Setting up DDNS for remote router access can really simplify your life. You won't have to worry about remembering your IP address or missing out on important remote access. Just remember to choose a reliable DDNS provider, follow the setup steps, and test it out. You’ll be accessing your router like a pro in no time. Happy networking!