Understanding Wi-Fi Extenders
Wi-Fi extenders are like the friendly neighbors of your network. They boost your Wi-Fi signal to cover those pesky dead zones in your home. If you're tired of dropped connections or slow speeds in certain rooms, an extender might be just what you need.
Why You Need One
Maybe your router is on one end of the house, and the far end gets hardly any signal. Or perhaps your basement feels like a black hole for Wi-Fi. An extender can help fill in those gaps. It takes the existing Wi-Fi signal and amplifies it, giving you better coverage.
Choosing the Right Extender
Not all extenders are created equal. When you're shopping, keep these tips in mind:
- Compatibility: Make sure the extender works with your router brand. Most should, but double-checking can save you a headache.
- Speed: Look for extenders that support the same Wi-Fi standards as your router. For example, if you have Wi-Fi 5 (802.11ac), get an extender that can handle that speed.
- Range: Consider how far from your router you need the signal to reach. Some extenders are better for larger homes while others are great for smaller spaces.
Setting Up Your Wi-Fi Extender
Once you've got your extender, it's time to set it up. Don't worry, it's usually pretty straightforward. Here’s a step-by-step guide.
1. Find the Right Spot
Placement is key. You want your extender to be within a good range of your router but far enough to cover the weak signal areas. A good rule of thumb is to place it about halfway between your router and the area where you need better coverage.
2. Connect to Power
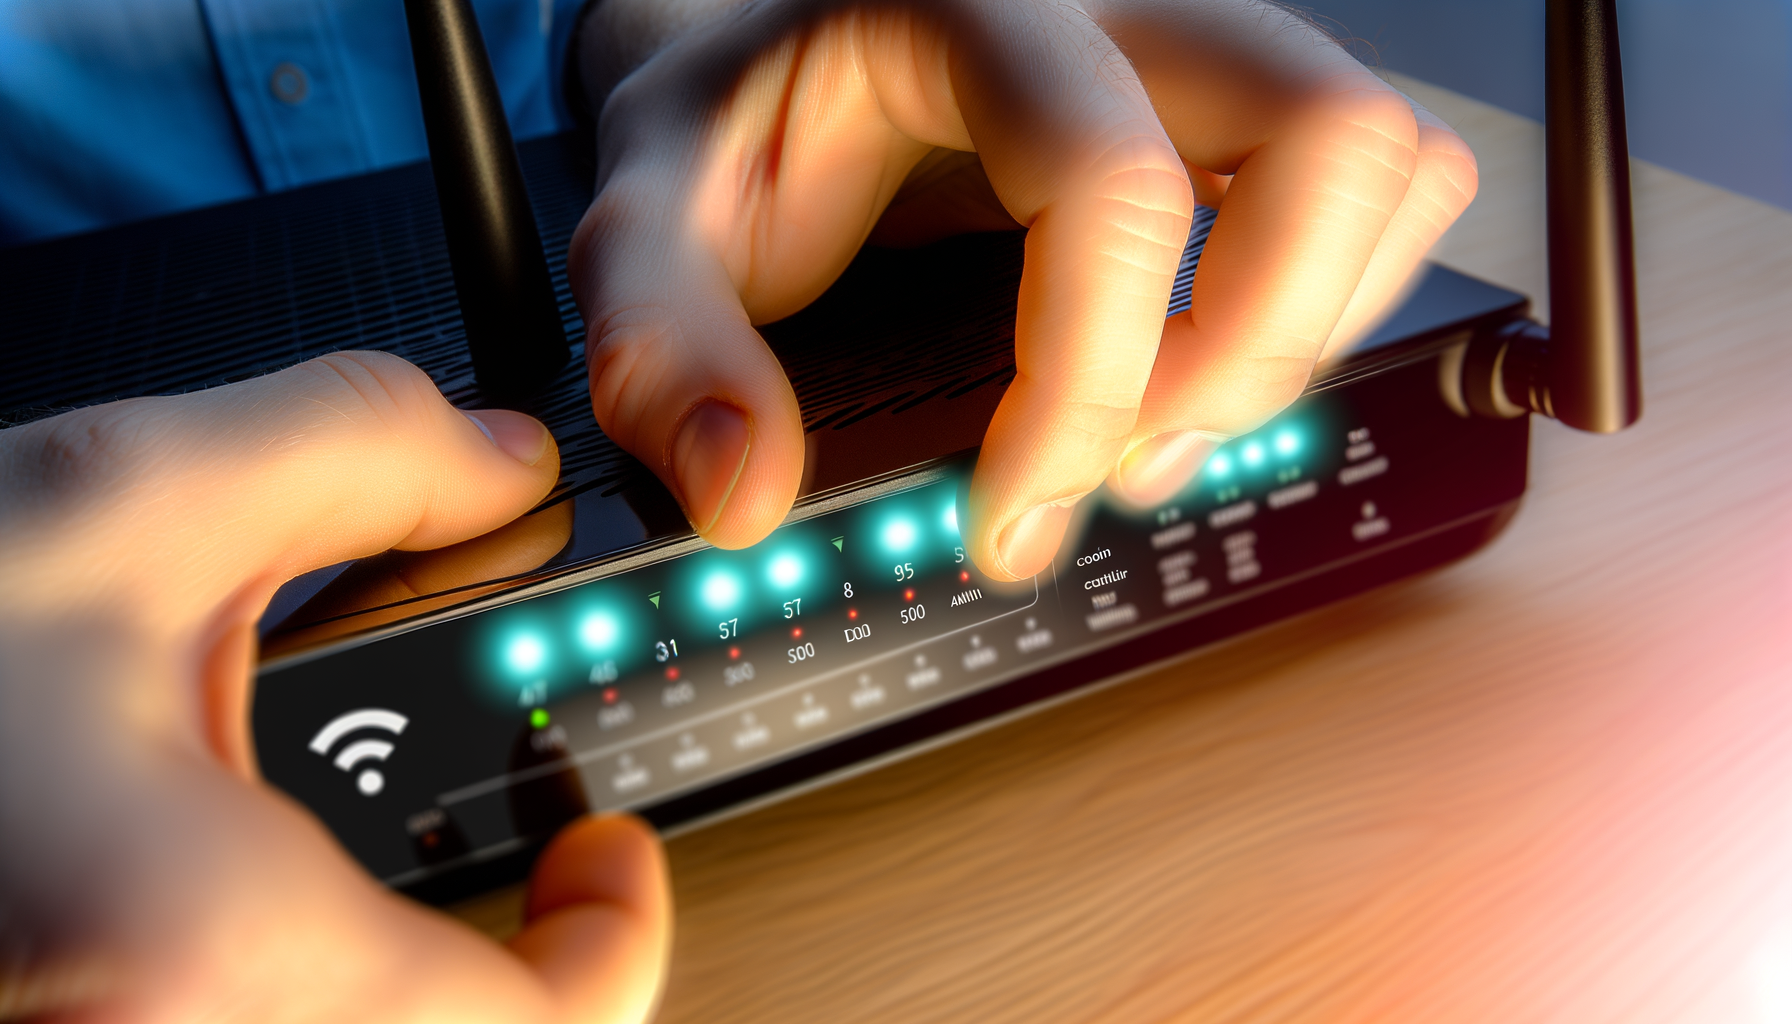
Plug in your extender and turn it on. Wait for it to boot up. Most extenders have LED indicators that show when they are ready.
3. Connect to the Extender
Using your phone, tablet, or computer, connect to the extender’s default Wi-Fi network. This is usually something like “Netgear_ext” or “TP-Link_Extender.”
4. Access the Setup Page
Open a web browser and type in the IP address that came with your extender's instructions. This is often something like 192.168.0.1 or 192.168.1.1. You might need to log in with the default username and password, usually something like “admin” and “password.”
5. Follow the Setup Wizard
Most extenders come with a setup wizard that walks you through the process. You'll typically select your existing Wi-Fi network and enter the password. Make sure to choose a network name (SSID) for your extender that’s easy to recognize. You’ll want to know which is which when you’re connecting devices.
6. Positioning the Extender
Once you’ve set it up, disconnect your device from the extender’s network and reconnect to your normal Wi-Fi. Now, walk around your home and see if the coverage has improved. If not, you may need to adjust the extender’s location a bit.
Testing the Connection
Your extender should be up and running, but it’s time to test it out. Here’s how:
- Move to the areas where you had weak connectivity. Check your device's Wi-Fi signal strength. You should see a noticeable improvement.
- Run a speed test with a service like Ookla or Fast.com. Compare the speeds in the areas you previously had issues.
- Try streaming a video or playing a game in those areas to see if the connection holds up.
Troubleshooting Common Issues
Sometimes things don’t go as planned. Here are a few common issues and how to fix them:
Extender Not Connecting to Router
Double-check the Wi-Fi password you entered during setup. Make sure it matches exactly.
Weak Signal from the Extender
Try moving the extender closer to the router. You want it to be in a spot where it can still pick up a strong signal.
Frequent Disconnects
This could be due to interference. Keep the extender away from other electronics like microwaves or cordless phones.
Conclusion
Setting up a Wi-Fi extender can seriously improve your internet experience at home. You’ll get better coverage where you need it most. Just remember to pick the right one, place it carefully, and follow the setup steps. If you run into issues, try the troubleshooting tips.
With a little patience, you'll be enjoying a strong Wi-Fi signal all over your home. Happy surfing!