How to Change Your Router's DNS Settings
So you want to change your router's DNS settings? That’s a smart move. Using a different DNS can make your internet faster and even give you better security. I know it sounds techy, but stick with me. It’s easier than you think. Let’s walk through the steps together.
Why Change Your DNS?
First, you might be wondering why you should bother with changing DNS settings. Here are some reasons:
- Speed: Some DNS servers are faster than your ISP’s default.
- Security: Certain DNS options can help block malicious sites.
- Access: You can access content that might be restricted in your area.
- Reliability: Some DNS services are more stable and won’t drop your connection.
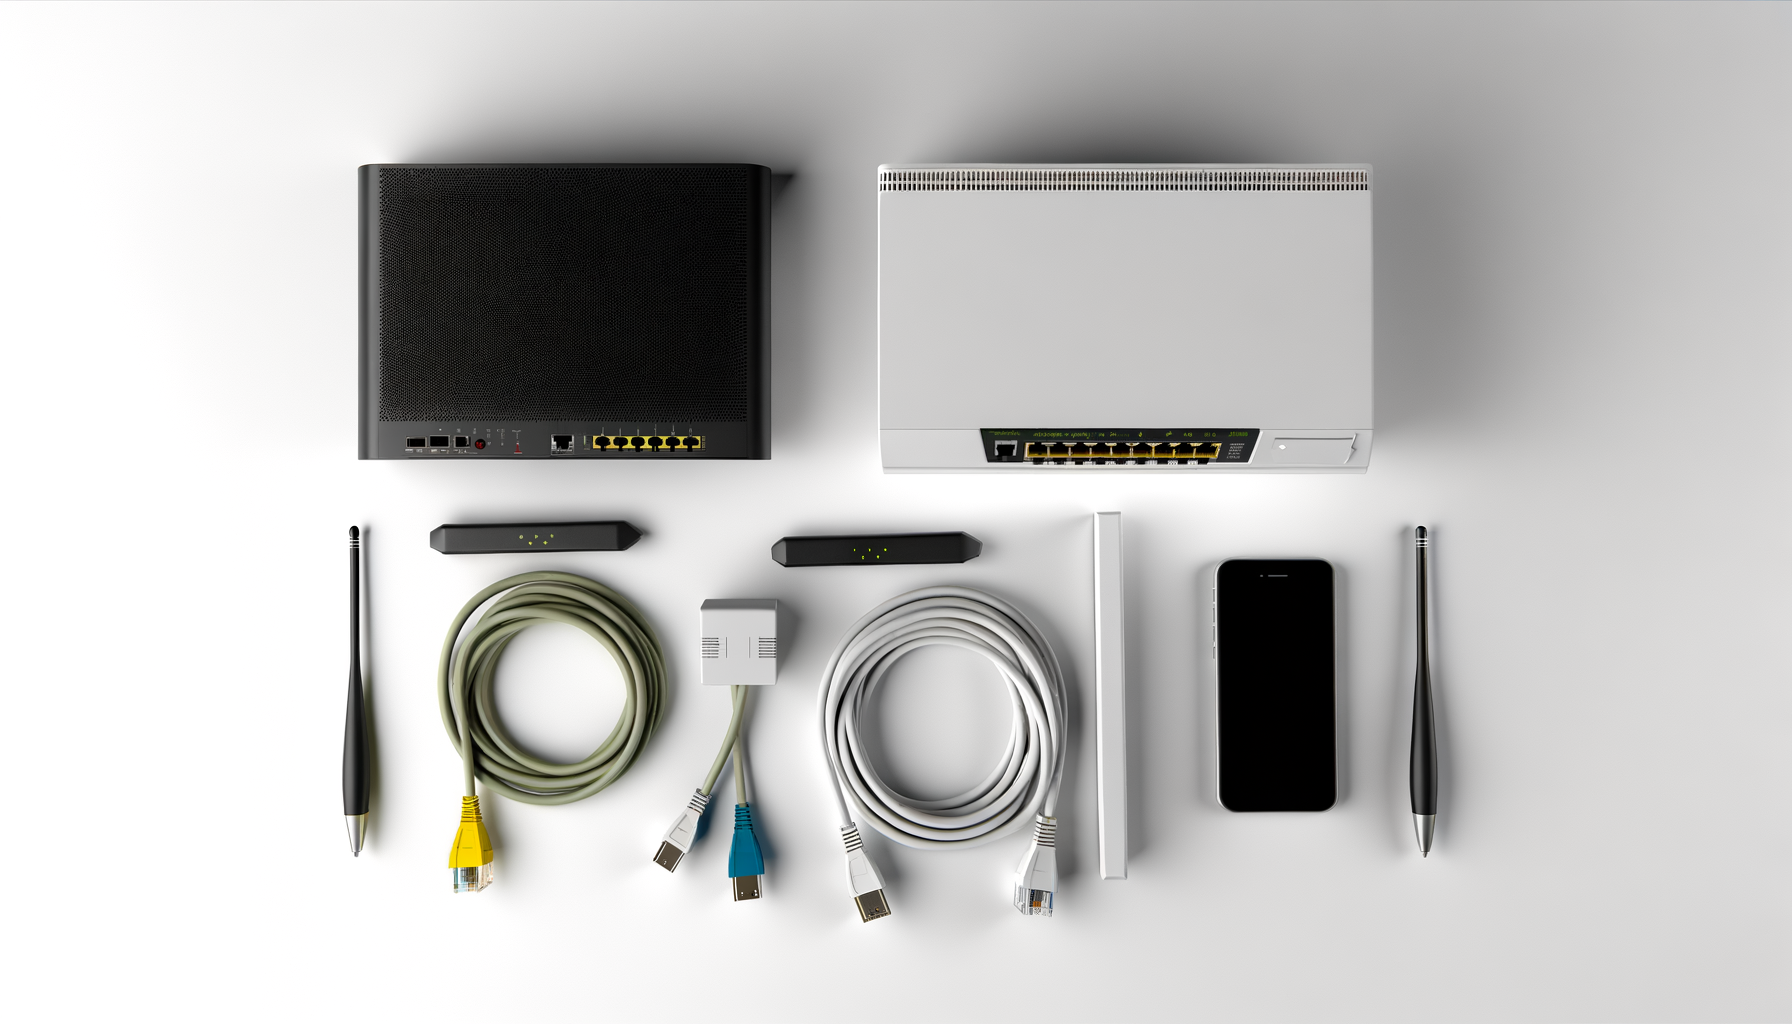
Things You'll Need
Before you start, grab the following:
- Your router’s IP address. This is usually something like 192.168.1.1 or 192.168.0.1. Check your router's manual if you’re not sure.
- Your login credentials for the router. This is often 'admin' for the username and 'password' for the password, unless you changed it.
- The DNS addresses you want to use. Popular options are:
- Google DNS: 8.8.8.8 and 8.8.4.4
- Cloudflare: 1.1.1.1 and 1.0.0.1
- OpenDNS: 208.67.222.222 and 208.67.220.220
Step-by-Step Guide to Changing DNS Settings
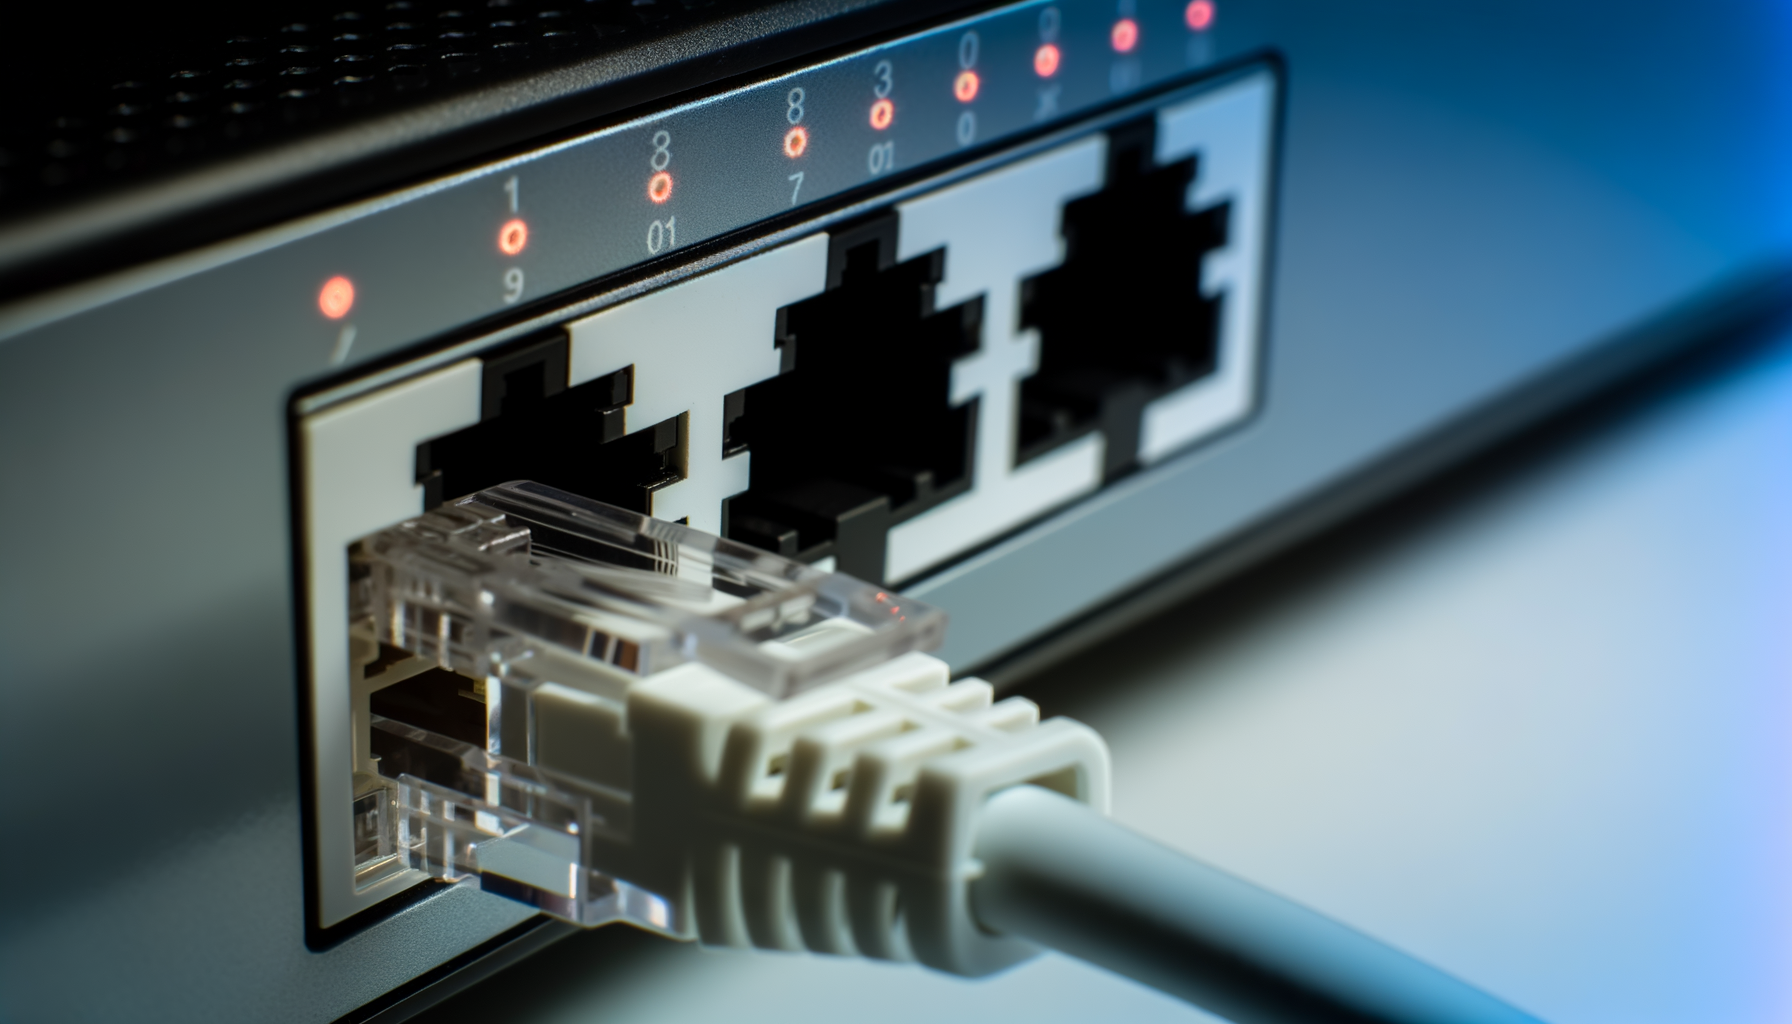
1. Access Your Router
Open a web browser and type in your router's IP address. Hit enter and you should see a login page. Enter your credentials to get in. If you’ve never changed this, it’s likely still the default.
2. Find the DNS Settings
Once you’re in, you’ll need to navigate to the DNS settings. This varies by router, but you’ll usually find it under sections like:
- Network Settings
- Internet Settings
- WAN Settings
Look for anything that mentions DNS. It might be labeled as DNS Server or simply DNS.
3. Change the DNS Addresses
Now, you can enter the new DNS addresses. Just replace the existing ones with the new ones you picked earlier. Make sure you enter them correctly. A small typo can lead to problems.
4. Save Your Changes
After you’ve entered the new addresses, look for a button that says Save or Apply. Click it. Some routers might reboot automatically, but others might need you to restart them manually.
5. Test Your New Settings
Once your router’s back online, check if the new DNS is working. You can do this by visiting a site like whatsmydns.net. It’ll show you which DNS server you’re currently using. If it’s changed, you’re all set!
Troubleshooting Tips
Sometimes things don’t go as planned. Here are a few tips if you run into issues:
- Can’t Access the Router: Double-check the IP address or try resetting the router.
- No Internet Connection: Go back and ensure you typed the DNS addresses correctly.
- Slow Speeds: Not all DNS servers are faster for everyone. Try a different one or switch back to your ISP’s default.
- Need to Reset: Most routers have a reset button. If things get really messed up, you can reset to factory settings and start over.
Wrapping It Up
Changing your router's DNS settings can really help improve your internet experience. Once you’ve set it up, you might notice faster load times or even better security. Plus, you have the power to choose what works best for you.
Now, go ahead and give it a shot. You might just become the tech wizard of your household. And remember, it’s totally okay to reach out for help if you get stuck. We’ve all been there.