Why Use Your Old Router?
Ever feel like your Wi-Fi just doesn’t reach the whole house? Yeah, it can be frustrating. Before you rush out to buy a fancy new extender, check if you have an old router collecting dust. You can easily turn it into a Wi-Fi extender. It’s a smart way to save money and improve your signal without needing to spend extra cash.
What You’ll Need
Before jumping in, gather a few things:
- Your old router
- An Ethernet cable
- A computer or a smartphone
- Your current router’s login info
Having these items handy makes the process smoother.
Setting Up Your Old Router
Now, let’s get started. The steps might vary slightly depending on your router brand, but here’s the general idea:
1. Reset the Old Router
If your old router has been sitting around for a while, it’s best to reset it to factory settings. Look for a small reset button, usually on the back. Press and hold it for about 10 seconds. You’ll see the lights blink. This means it’s reset and ready to go.
2. Connect to Your Old Router
Grab your computer or smartphone and connect to the old router. You’ll usually find its default Wi-Fi name on a sticker on the router. Connect to it and enter the default password, also found on that sticker.
3. Access the Router’s Settings
Open a web browser and type in the router’s IP address. Common addresses are 192.168.1.1 or 192.168.0.1. Check your router’s manual if those don’t work. Log in using the default credentials, which are often 'admin' for both username and password.
4. Change the Router’s IP Address
To avoid conflicts with your main router, you’ll need to change the old router’s IP address. Look for the settings that say something like LAN Setup or Network Settings. Change the last number of the IP address to something different from your main router. For example, if your main router is 192.168.1.1, set your old router to 192.168.1.2.
5. Disable DHCP
This step is important. DHCP is what assigns IP addresses to devices. You want your main router to do this. Find the DHCP settings and turn it off. This prevents conflicts between the two routers.
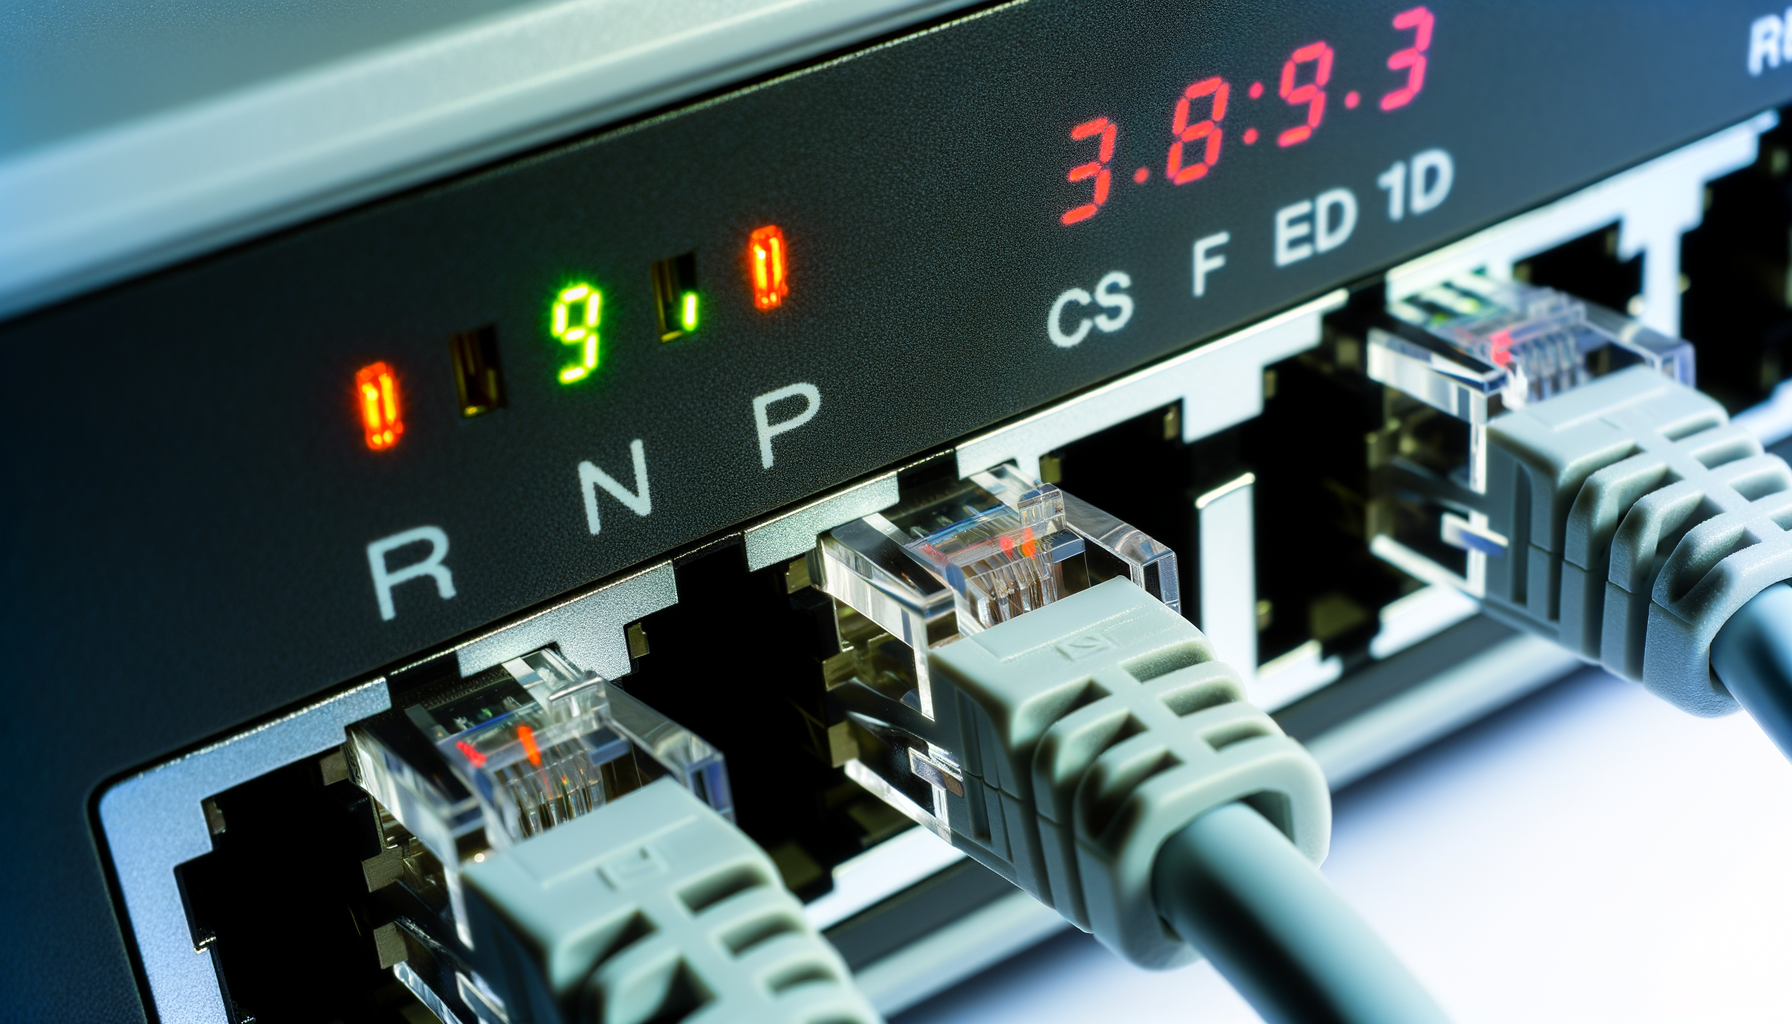
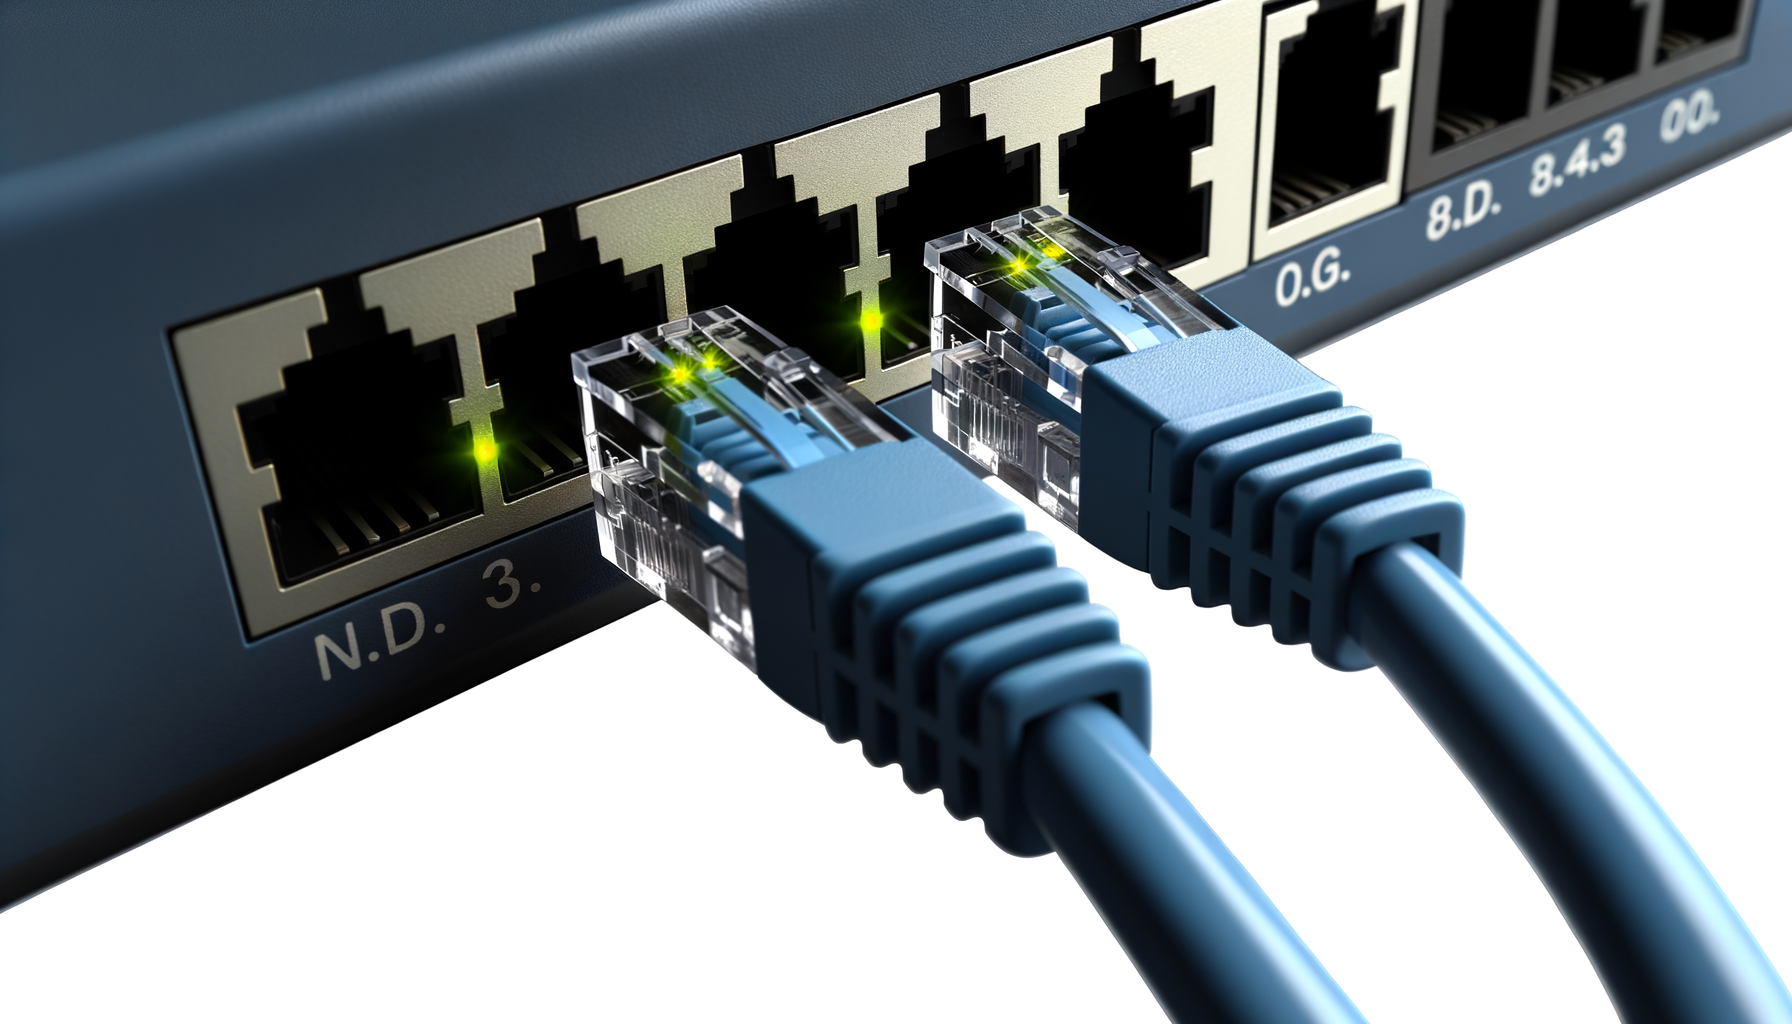
6. Connect the Routers
Now it’s time to connect the routers. Use that Ethernet cable you gathered earlier. Plug one end into a LAN port on your main router and the other end into a LAN port on your old router. Avoid using the WAN port on the old router unless you have a specific reason to.
7. Set Up Wi-Fi Settings
You can either keep the same Wi-Fi name and password as your main router or create a new one. Keeping the same name helps devices switch between routers without any hiccups. If you choose to change it, make sure you note the new details.
8. Save and Reboot
After making all these changes, be sure to save them. Most routers will have a Save button. Then, reboot your old router. This helps ensure all new settings take effect.
Placement Matters
Now that your old router is set up as an extender, placement is key. Put it somewhere halfway between your main router and the area where you need better coverage. Avoid placing it in a corner or behind furniture. Ideally, it should have a clear line of sight to both the main router and the area you're trying to cover.
Troubleshooting Tips
Sometimes things don’t go as planned. Here are a few tips if you run into issues:
- No internet connection: Double-check all connections and settings. Make sure DHCP is disabled on the old router.
- Weak signal: Try moving the old router closer to the main router or adjust the antenna if it has one.
- Devices won’t connect: Make sure you're using the correct Wi-Fi name and password.
Final Thoughts
Using your old router as a Wi-Fi extender is a great way to boost your signal and eliminate those annoying dead spots. It doesn’t take much time or effort, and it's a perfect example of recycling tech instead of tossing it. Plus, you'll feel pretty accomplished when you see how much better your Wi-Fi is.
Give it a shot and enjoy the stronger signal throughout your home. Who needs to spend extra money when you’ve got a perfectly good router just sitting around?