Why You Should Set Up a Guest Network
You might be wondering why you even need a guest network. Maybe you have friends over often, or maybe you just want to keep your main network secure. A guest network lets visitors use your internet without giving them access to your personal devices. It's like having a separate room in your house just for guests.
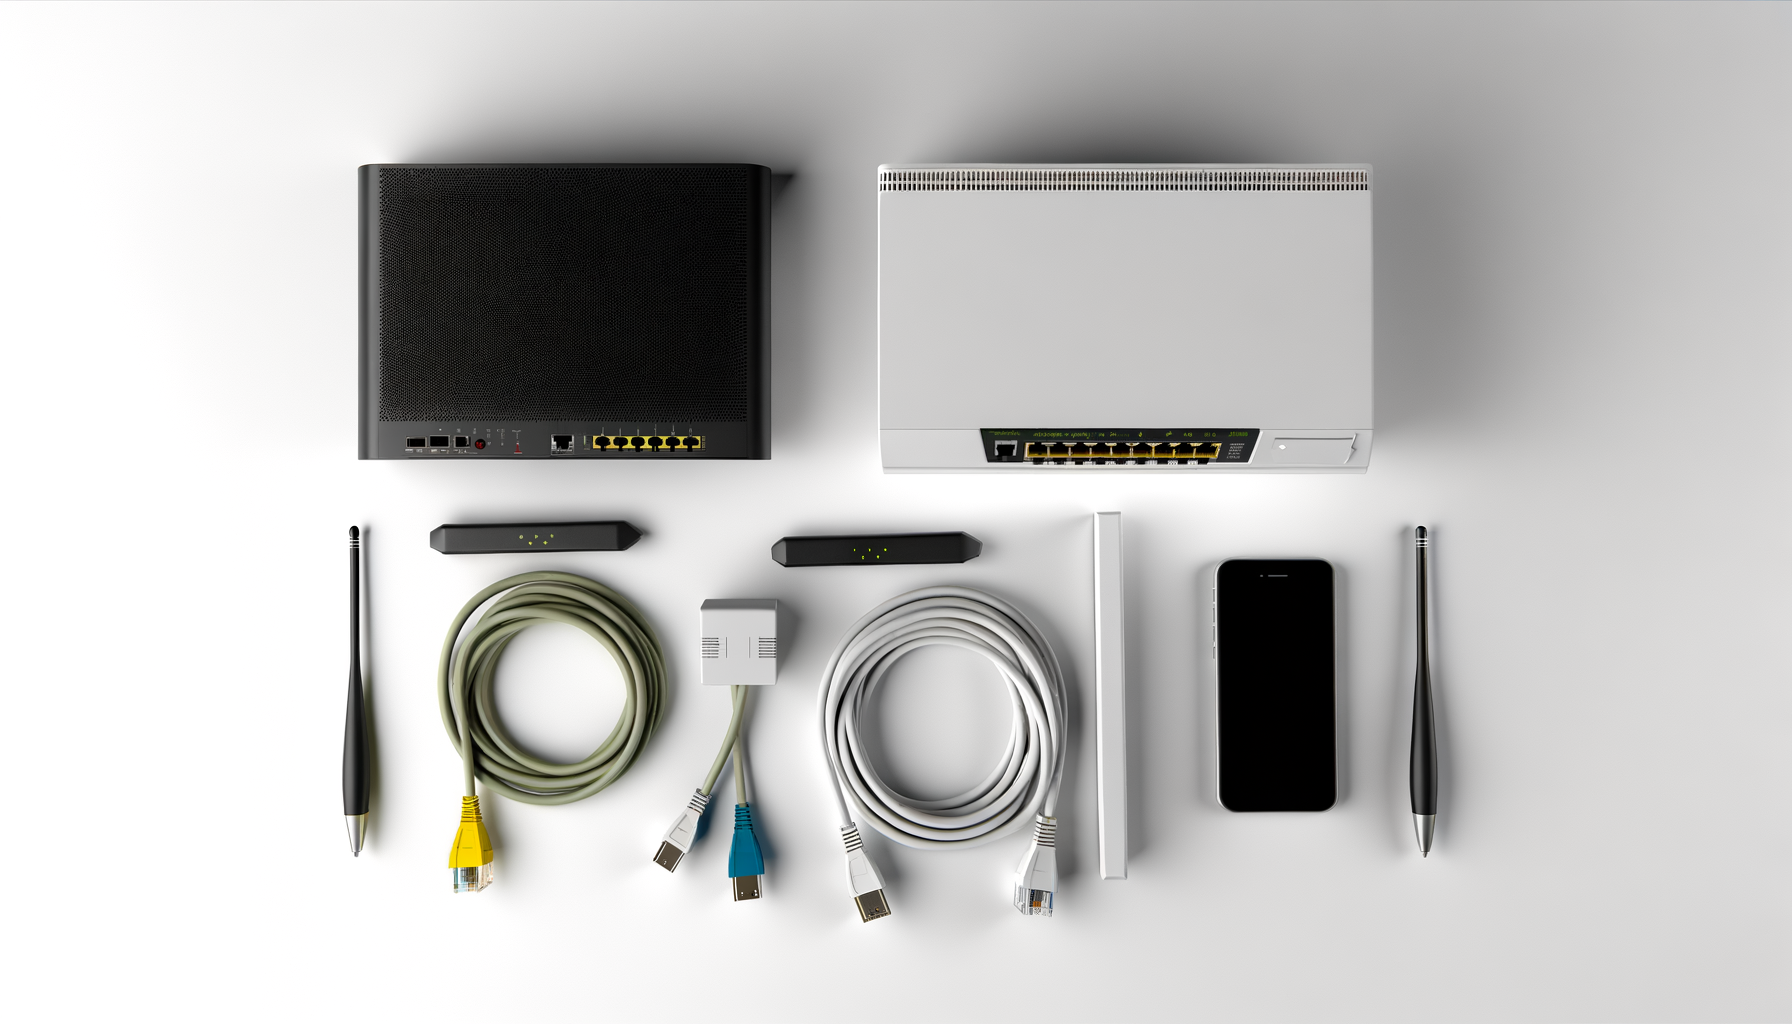
Getting Started
Before you dive in, grab your router's manual or head to the manufacturer's website. You’ll need the default username and password to access your router settings. Most routers use something like 'admin' for the username and 'password' for the password. But this can vary. If you’ve changed it, make sure you remember those details.
Accessing Your Router Settings
To access your router settings, type your router's IP address into a web browser. Most commonly, it's 192.168.1.1 or 192.168.0.1. If neither of those work, check your manual or look it up online.
Once you enter the IP address, you'll be prompted to log in. Use the credentials we talked about earlier. If you’ve never changed them, it’s probably still the default.
Finding the Guest Network Option
Now that you're logged in, look for a section called 'Wireless Settings' or 'Guest Network.' This is usually found in the 'Wireless' or 'Advanced' tabs. The exact wording can depend on your router brand.
Some routers have a dedicated option for guest networks. If yours does, great! If not, you might have to create a new SSID (which is just the name of your network) for guests.
Setting Up the Guest Network
Here’s where the fun begins. You’ll usually see an option to enable the guest network. Turn that on. Now, you’ll need to create a name for the network. Make it something fun, like 'Free WiFi for Friends' or 'Not Your Network.'
Next, set a password. You want it to be secure but easy enough for your guests to remember. Something like 'PartyTime2023' is good. Just don’t make it too obvious like '12345678' or 'password.'
Network Isolation
Look for an option that says something like 'Enable Network Isolation' or 'Allow Guests to See Each Other.' You want to make sure this is turned on. This keeps your guests from snooping on your devices.
Adjusting Additional Settings
Some routers allow you to limit bandwidth for guest users. This can come in handy if you don’t want them hogging all your internet speed. Check for a setting that lets you adjust the maximum download and upload speeds.
Another handy feature is setting a time limit for how long guests can stay on the network. This is especially useful for parties. You can set it to auto-disable after a few hours.
Saving Your Settings
Once you’ve made all your changes, look for a button that says 'Save' or 'Apply.' Click that, and your router will update the settings. It might take a minute for the changes to take effect.
Testing the Guest Network
Grab your phone or a tablet and try connecting to the guest network. Enter the password you set up. If it connects, you did it right. You should also check if you can access your main network. You shouldn’t be able to. If you can, go back and double-check your isolation settings.
Sharing Your Guest Network
Now that everything's set up, share the network name and password with your guests. You can write it down on a little card or just tell them. It’s nice to make it easy for friends to connect without bothering you.
Tips for Keeping Your Network Secure
- Change the default router password if you haven't already.
- Keep your router's firmware up to date. Check the manufacturer's site for updates.
- Regularly change your guest network password, especially if you have a lot of different visitors.
- Disable the guest network when you don’t need it. It’s a good way to keep things safe.
Wrapping Up
Setting up a guest network is a smart move for anyone who wants to keep their main network safe while still being hospitable to guests. It might seem tricky at first, but once you get the hang of it, you’ll wonder why you didn’t do it sooner. So go ahead and give it a shot. Your friends will thank you for it, and you’ll have peace of mind knowing your devices are safe.