Getting Started
So you want to access your router's admin panel? I get it. It can be a bit frustrating, especially if you're not a tech whiz. But don't sweat it. I’ll walk you through the steps to get you in there and managing your network like a pro.
Step 1: Connect to Your Network
First things first. You need to be connected to your router. You can do this either through a wired connection or via Wi-Fi. I recommend using an Ethernet cable if you have one. It’s usually more stable.
Step 2: Find Your Router's IP Address
Next, you need to know your router's IP address. This is like the home address for your router on the internet. Most routers use one of these common IPs:
- 192.168.1.1
- 192.168.0.1
- 10.0.0.1
If none of those work, you can find the IP address by following these steps:
- On Windows, open Command Prompt by typing cmd in the search bar.
- Type ipconfig and hit Enter.
- Look for the line that says Default Gateway. That’s your router’s IP address.
- On Mac, go to System Preferences, then Network. Select your connection and look for Router.
Step 3: Enter the IP Address in a Browser
Open up your favorite web browser. Type the IP address into the address bar and hit Enter. You should see a login page. If nothing happens, make sure you entered the address correctly.
Step 4: Log Into the Admin Panel
Now you need to log in. Most routers come with default usernames and passwords. Common ones include:
- Username: admin | Password: admin
- Username: admin | Password: password
- Username: user | Password: user
Check your router’s manual or the sticker on the back or bottom of the router for the default login info. If you’ve changed it in the past and forgot, you might need to reset the router.
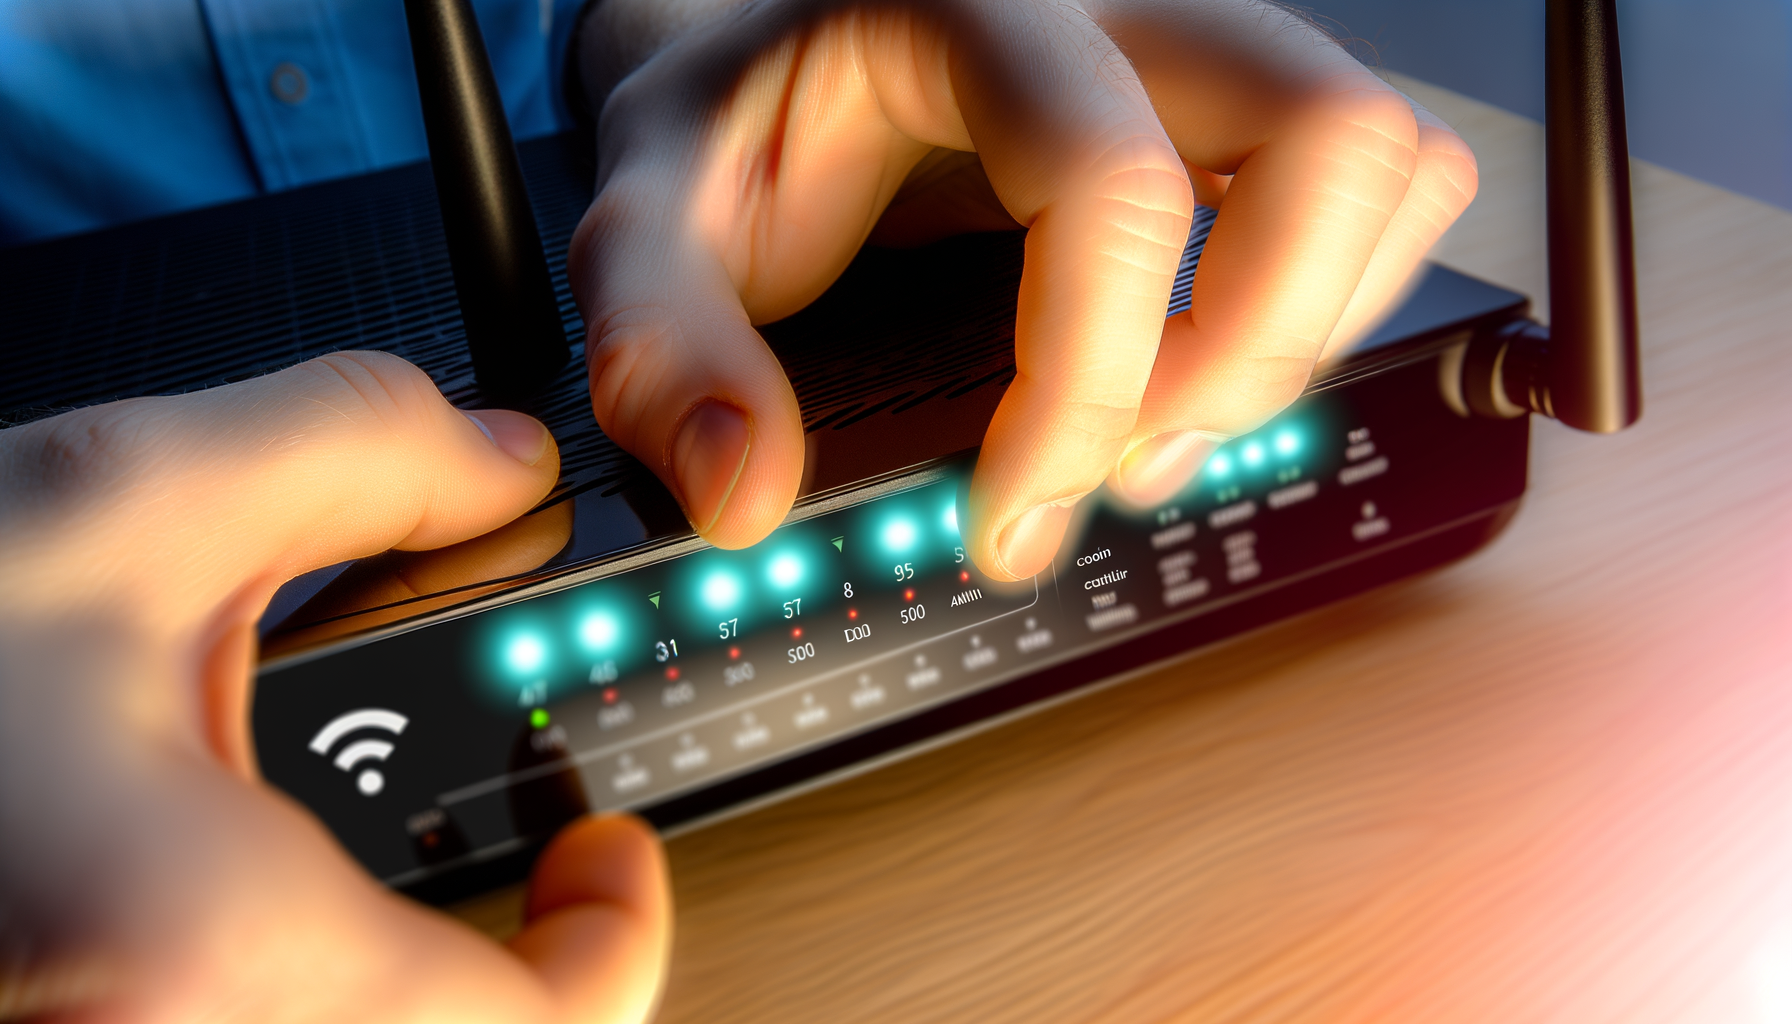
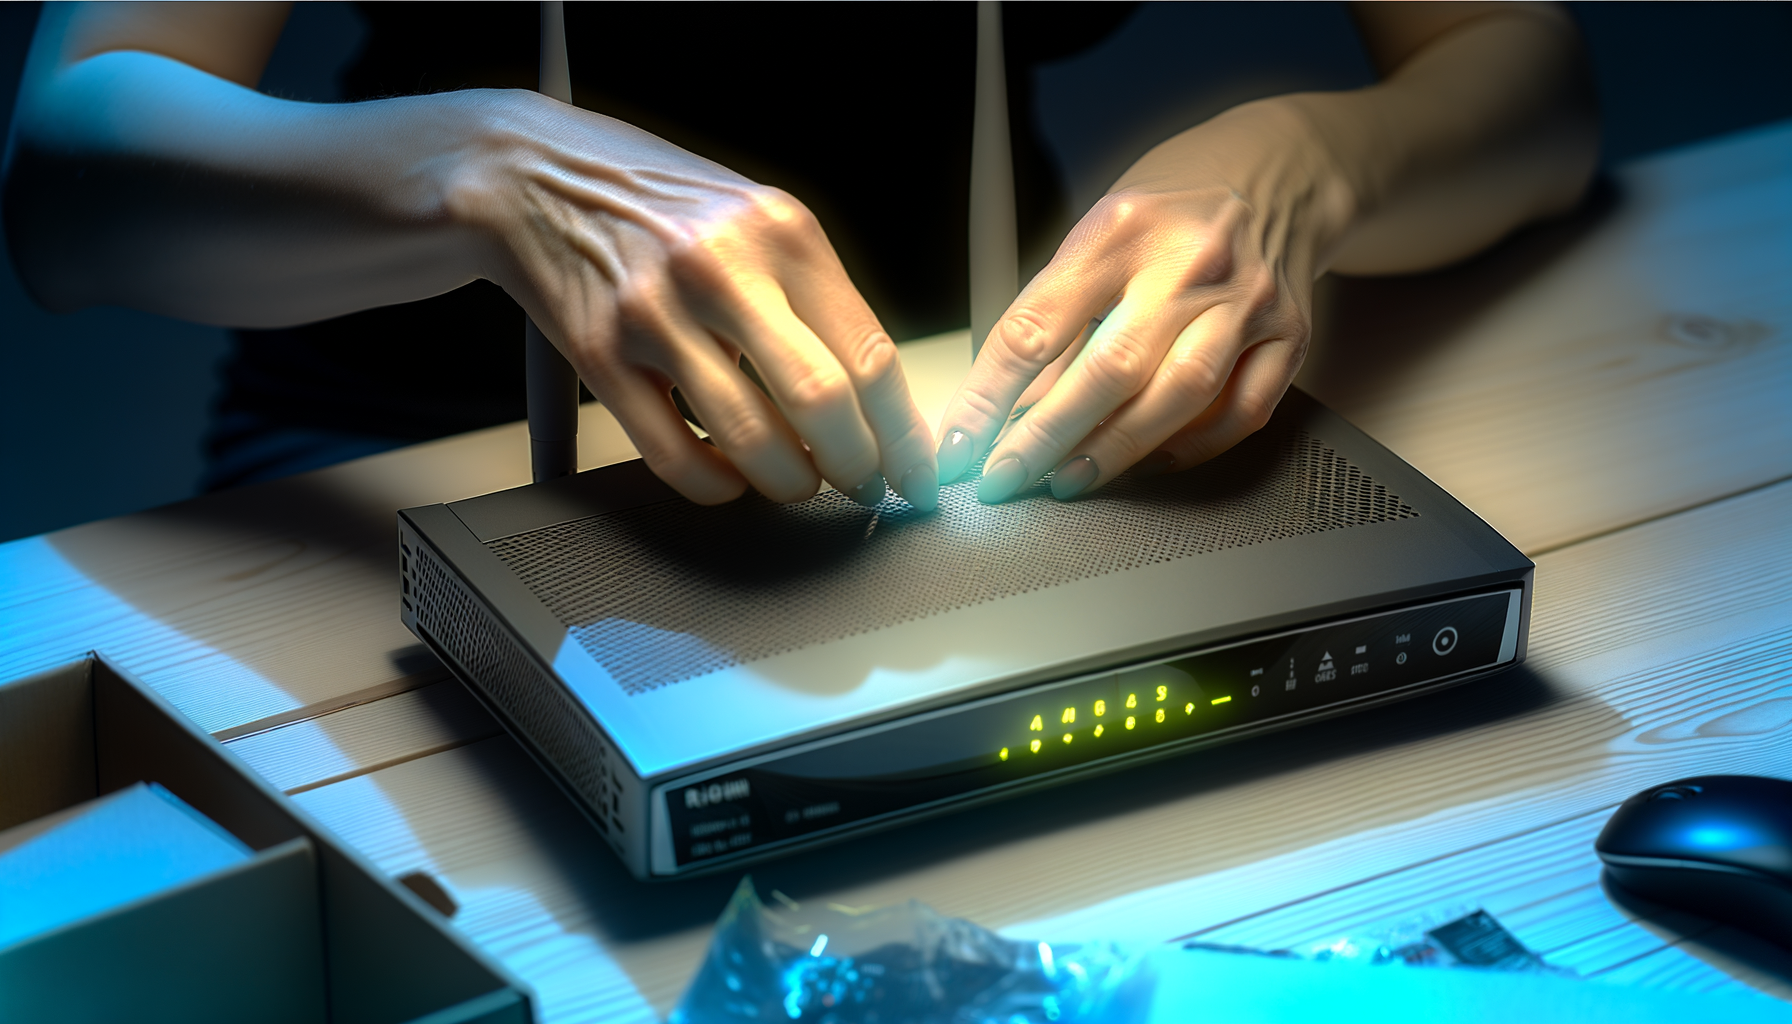
Step 5: Resetting Your Router (If Needed)
Sometimes you just can’t remember that password. If that’s the case, you’ll need to reset your router. To do this:
- Find the reset button on the back or bottom of your router.
- Press and hold it for about 10-15 seconds.
- Release the button and wait for the router to reboot.
This will reset everything to factory settings. You’ll need to set up your network again, but at least you’ll be able to log in.
Step 6: Navigating the Admin Panel
Once you’re logged in, you’ll see a bunch of options. This is where you can change your network name, password, and other settings. It can look overwhelming, but just take your time.
Here are some common settings you might want to check out:
- Wi-Fi Settings: Change your SSID (network name) and password.
- Security Settings: Make sure you're using WPA2 for better security.
- Parental Controls: Set limits on certain devices if you need to.
- Guest Network: Create a separate network for visitors to keep your main network secure.
Step 7: Save Your Changes
After you make changes, always look for a button to save or apply those changes. Otherwise, your hard work will be gone once you log out.
Step 8: Log Out and Reboot (If Necessary)
Once you’re done, it’s a good idea to log out. Some routers might need a reboot after changes, while others won’t. If you’re unsure, a quick reboot won’t hurt.
Troubleshooting Tips
Still having trouble? Here are a few things to check:
- Make sure your device is connected to the right network.
- Check that you typed the IP address correctly.
- Use a different browser or clear your current browser's cache.
- Try accessing the panel from another device like your phone or tablet.
Most issues are pretty easy to fix. Just keep at it.
Conclusion
Accessing your router's admin panel can feel like a daunting task, but it's really not that bad. Just follow these steps, and you’ll be in and out in no time. Once you know how to navigate the admin panel, you can tweak your settings to improve your home network. Good luck, and happy surfing!